To launch a new Threat Simulation campaign, go to the “Campaigns” page.
If you’ve never launched a campaign before, the page will look like this:
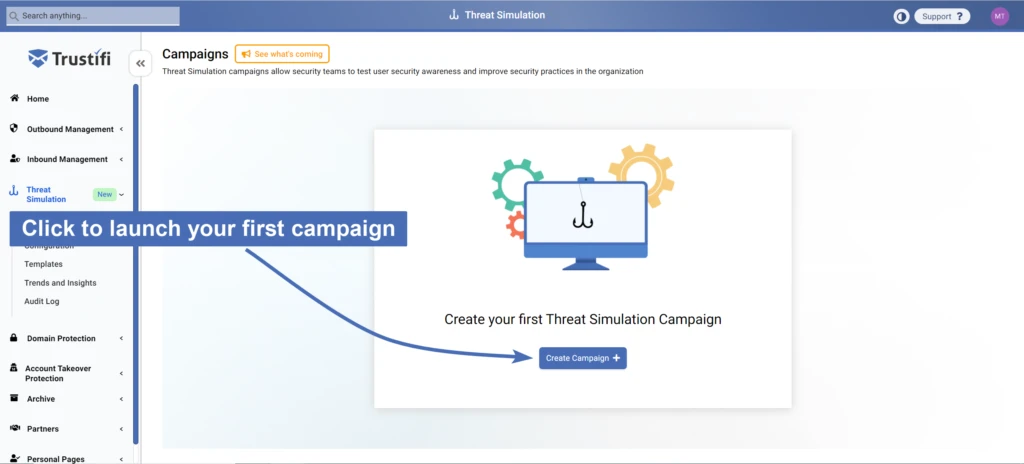
Click on the “Create Campaign” button to launch a Threat Simulation campaign.
Setting Up a New Campaign
Launching a Threat Simulation campaign works by using a wizard that takes you through the necessary steps to set up and launch the campaign.
General Information
For the first step, you will need to enter a name for the campaign. Try to pick something descriptive that can be easily found later on.
You may also enter a full description of the campaign to provide more details about it. The “Description” field is optional.
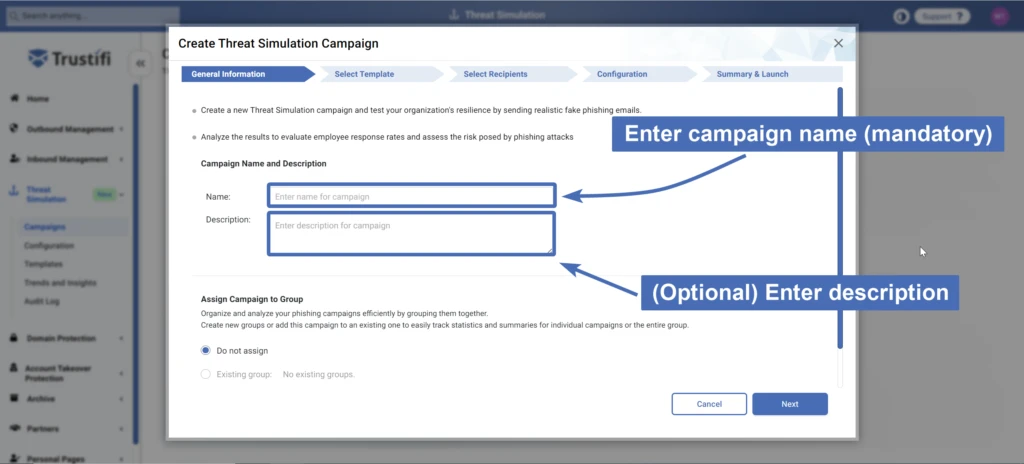
At the bottom of this window, you will find the “Assign Campaign to Group” section. More details will be provided about this function in a separate section of the documentation.
Select Template
In this step, you can select and configure the template of the Threat Simulation email.
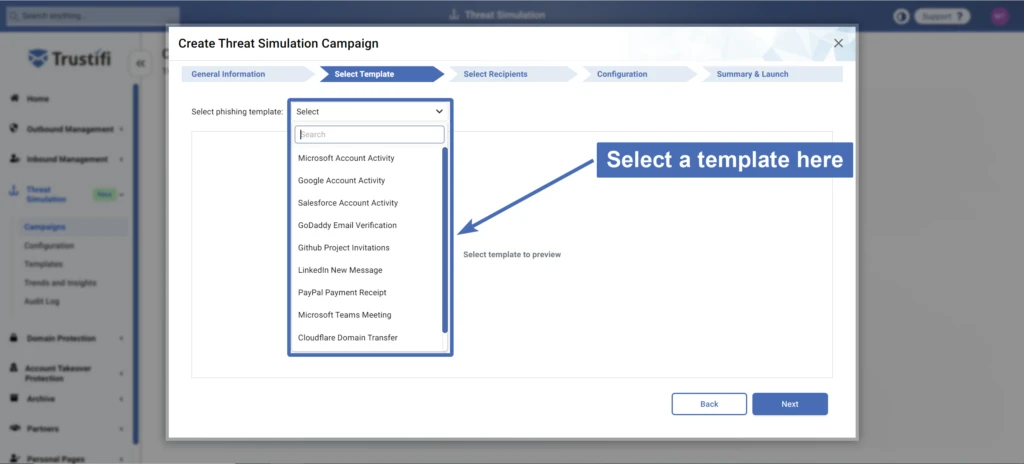
Click on the drop-down menu at the top to show the full list of available Threat Simulation templates.
Select any template from the list to show a preview of the simulation email and configure the template.
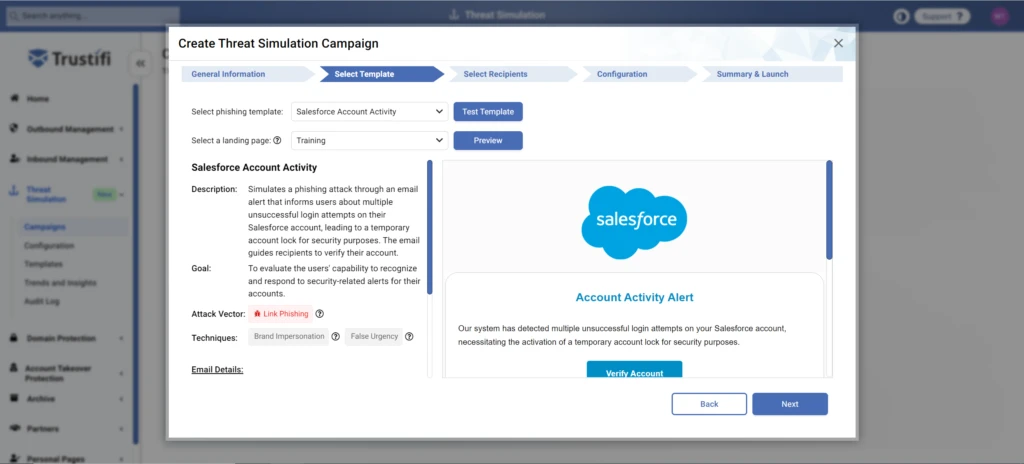
The right side of this page will display a dynamic preview of the Threat Simulation email, as it would appear in the recipient’s mailbox.
Note: some dynamic fields depend on the recipient’s identity and will appear as a variable in the template preview. For example the dynamic field {{REC.NAME}} will automatically show the recipient’s name in the email itself.
At the top of the page, you will find the “Test Template” button. Click on this button to send a test of the Threat Simulation campaign to your mailbox only– to test how the email template looks in your actual mailbox.
On the left side of the page you can find detailed information about this simulation template:
Description: Provides a description of this template’s content and purpose.
Goal: Explain the security logic for using this specific template.
Attack Vector: Outlines the specific means by which this simulation template targets the victim. Common attack vectors include: link phishing, malware, social engineering, and more.
Techniques: Outlines the various techniques used by this simulation to appear legitimate and convince its target to take actions. Common techniques include: brand impersonation, false urgency, spoofing, and many more.
Email Details: Shows the basic information about the email parameters such as subject, sender name and address, and reply-to address.
Tracked Links: For phishing templates that use the “Link Phishing” attack vector, Trustifi can track the phishing link for activity and register exactly who clicks on the link and when.
You may also configure the destination of the tracked link when the user clicks on it (more on this below).
Selecting a Landing Page
If your selected template uses a simulated phishing link, you may select where that link leads to. There are 2 options you can select under the menu titled “Select a landing page”:
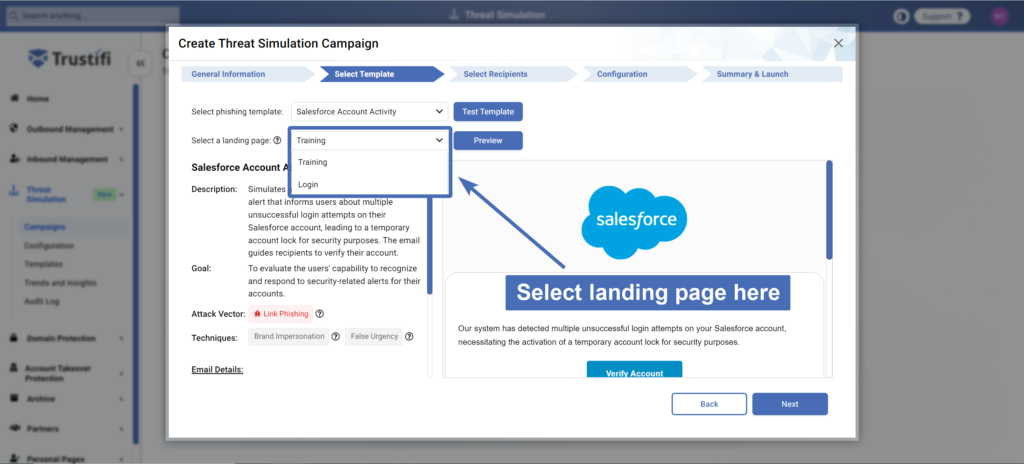
Training: This landing page explains to the user that they have clicked on a simulated phishing link, and therefore have failed the training.
The page also provides security awareness education and outlines how to spot phishing emails.Login: This landing page guides the user to a fake login page, where they are asked to enter their personal/work credentials. If the user enters their credentials on this page, Trustifi will register this as an additional, and more severe, failure of the security awareness training.
Note: You can use the “Preview” button to see how each of these landing page look like and interact with them.
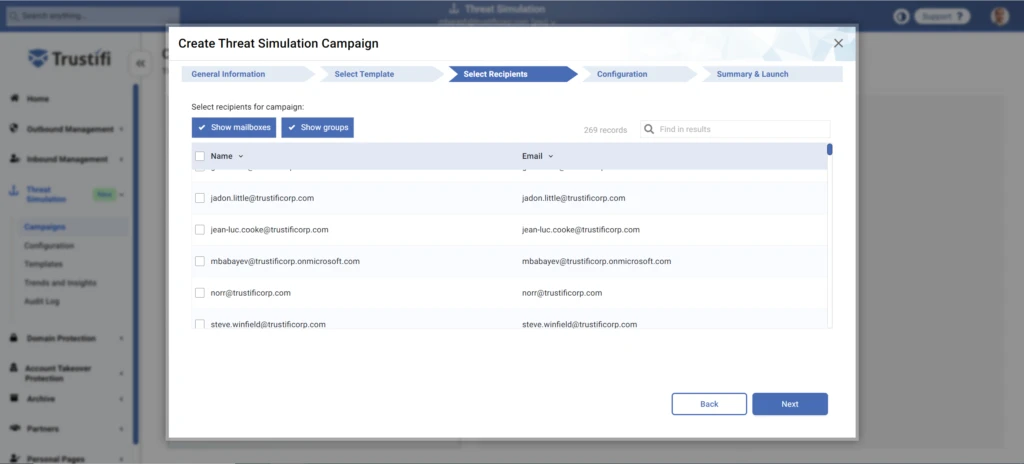
Selecting Campaign Recipients
In this step, you will select the recipients of this Threat Simulation campaign. Trustifi will automatically display a list of your internal email addresses and groups, and you can select groups, individual recipients, or a combination of both.
You can use the “Show Mailboxes” and “Show Groups” buttons to choose what to display in the list, and you can use the built-in search function to find specific mailboxes or groups.
Campaign Distribution Configuration
On this page, you can configure additional distribution and execution features of the Threat Simulation campaign:
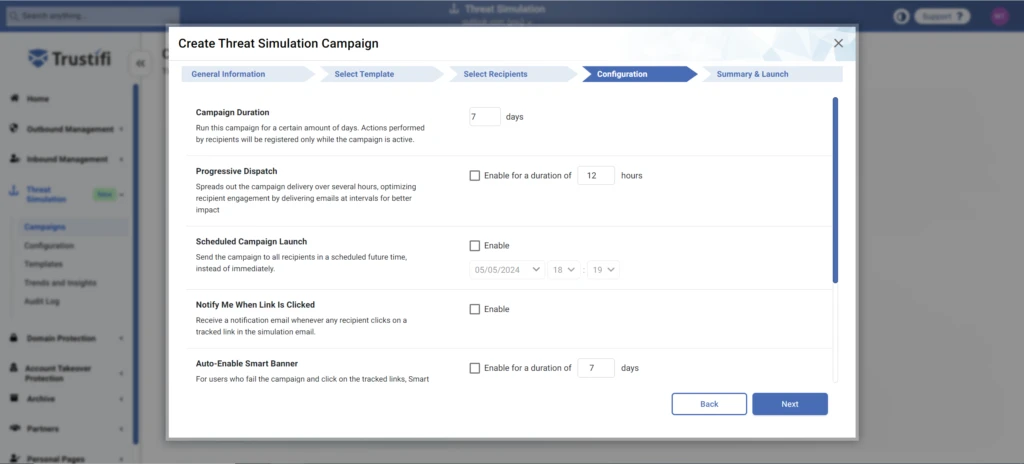
Campaign Duration: You can choose to run this campaign for a certain amount of days. Actions performed by recipients will be registered only while the campaign is active.
Progressive Dispatch: Spreads out the campaign delivery over several hours, optimizing recipient engagement by delivering emails at intervals for better impact.
Scheduled Campaign Launch: Send the campaign to all recipients in a scheduled future time, instead of immediately.
Notify Me When Link Is Clicked: Receive a notification email whenever any recipient clicks on a tracked link in the simulation email.
Notify Me When Attachment Is Downloaded: Receive a notification email whenever any recipient downloads an attachment in the simulation email.
Auto-enable Smart Banner: For users who fail the campaign and click on the tracked links, Smart Banners will be applied to all of their incoming emails for a set duration of time.
Send Campaign Summary: Receive an email with a summary of the campaign results automatically when the campaign duration has ended.
Distribute Training Materials: Following the completion of the campaign, automatically distribute the training page link to individuals who have not yet opened it.
Summary and Launch
This page displays a summary of the campaign description, recipients, and configurations for you to review before sending.
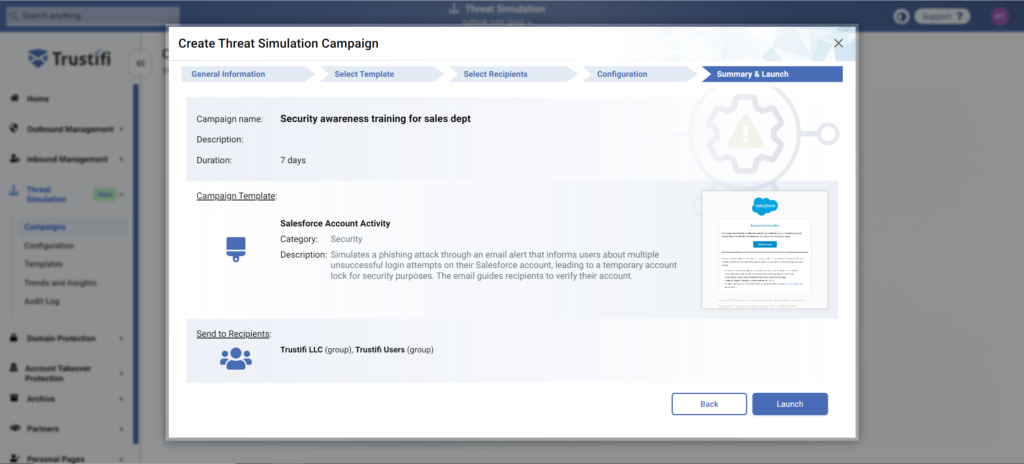
Once you are satisfied with the campaign configurations, you can click on the “Launch” button at the bottom right to launch the Threat Simulation campaign.
When the campaign has been successfully launched you will see this screen:
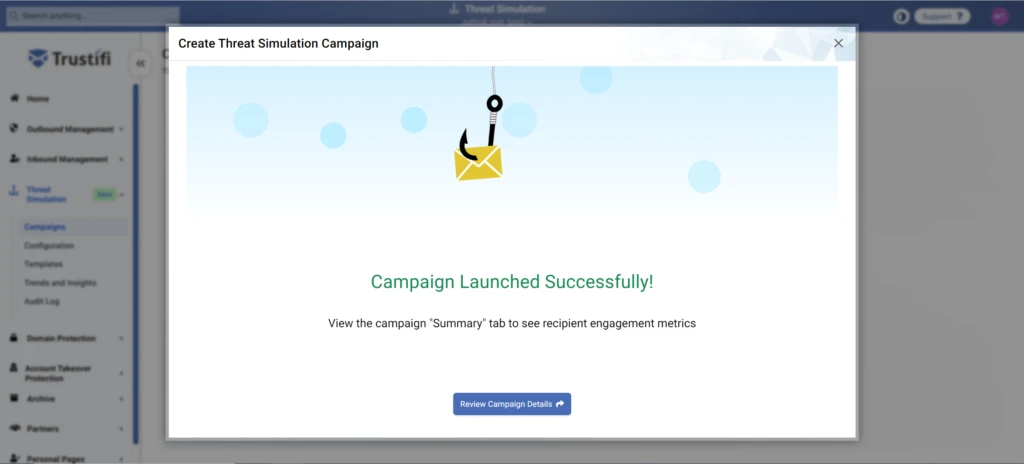
You can click on the button at the bottom of the window to review the campaign details and summary.