After you have created some templates, using them in emails is very simple and can be done either from the Trustifi web portal or using Trustifi’s API.
Using the Web Portal
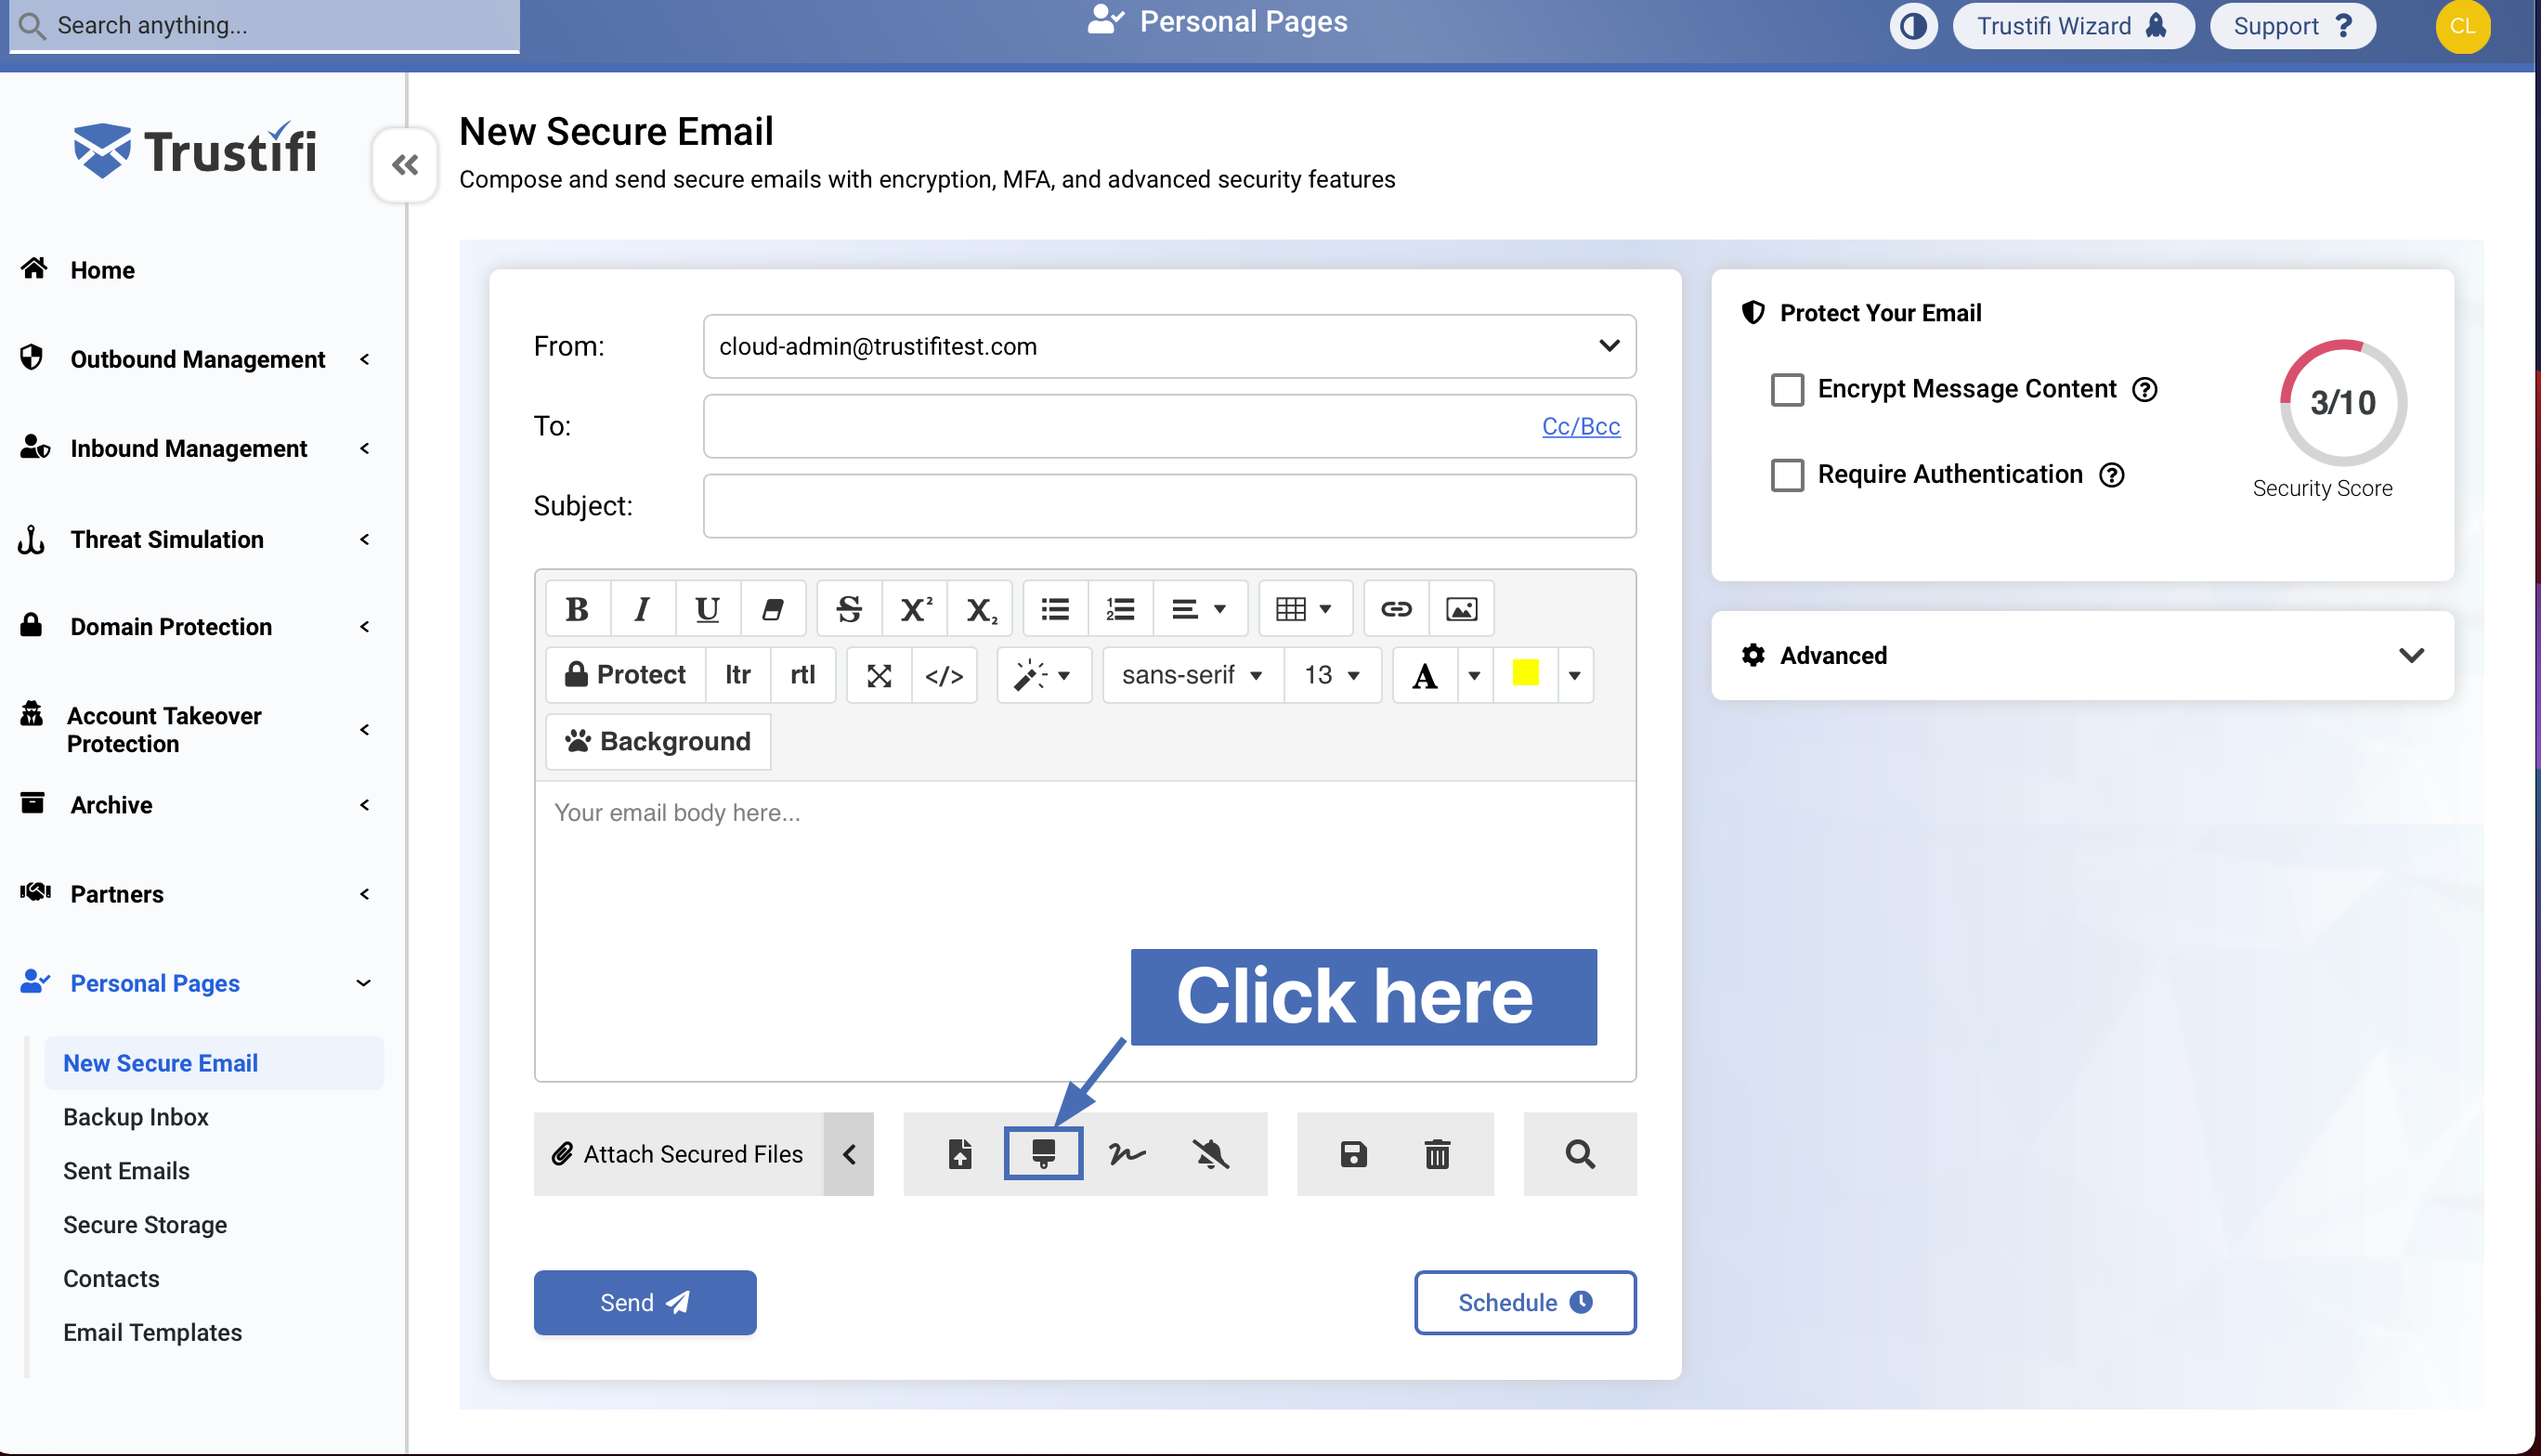
Navigate to New Secure Email (Personal Pages > New Secure Email).
Enter the email's recipients in the "To" field and compose your message in the text editor.
At the bottom of the text editor window, you will see a formatting toolbar with various options. Locate and click on the "Email template" button indicated with a paintbrush.
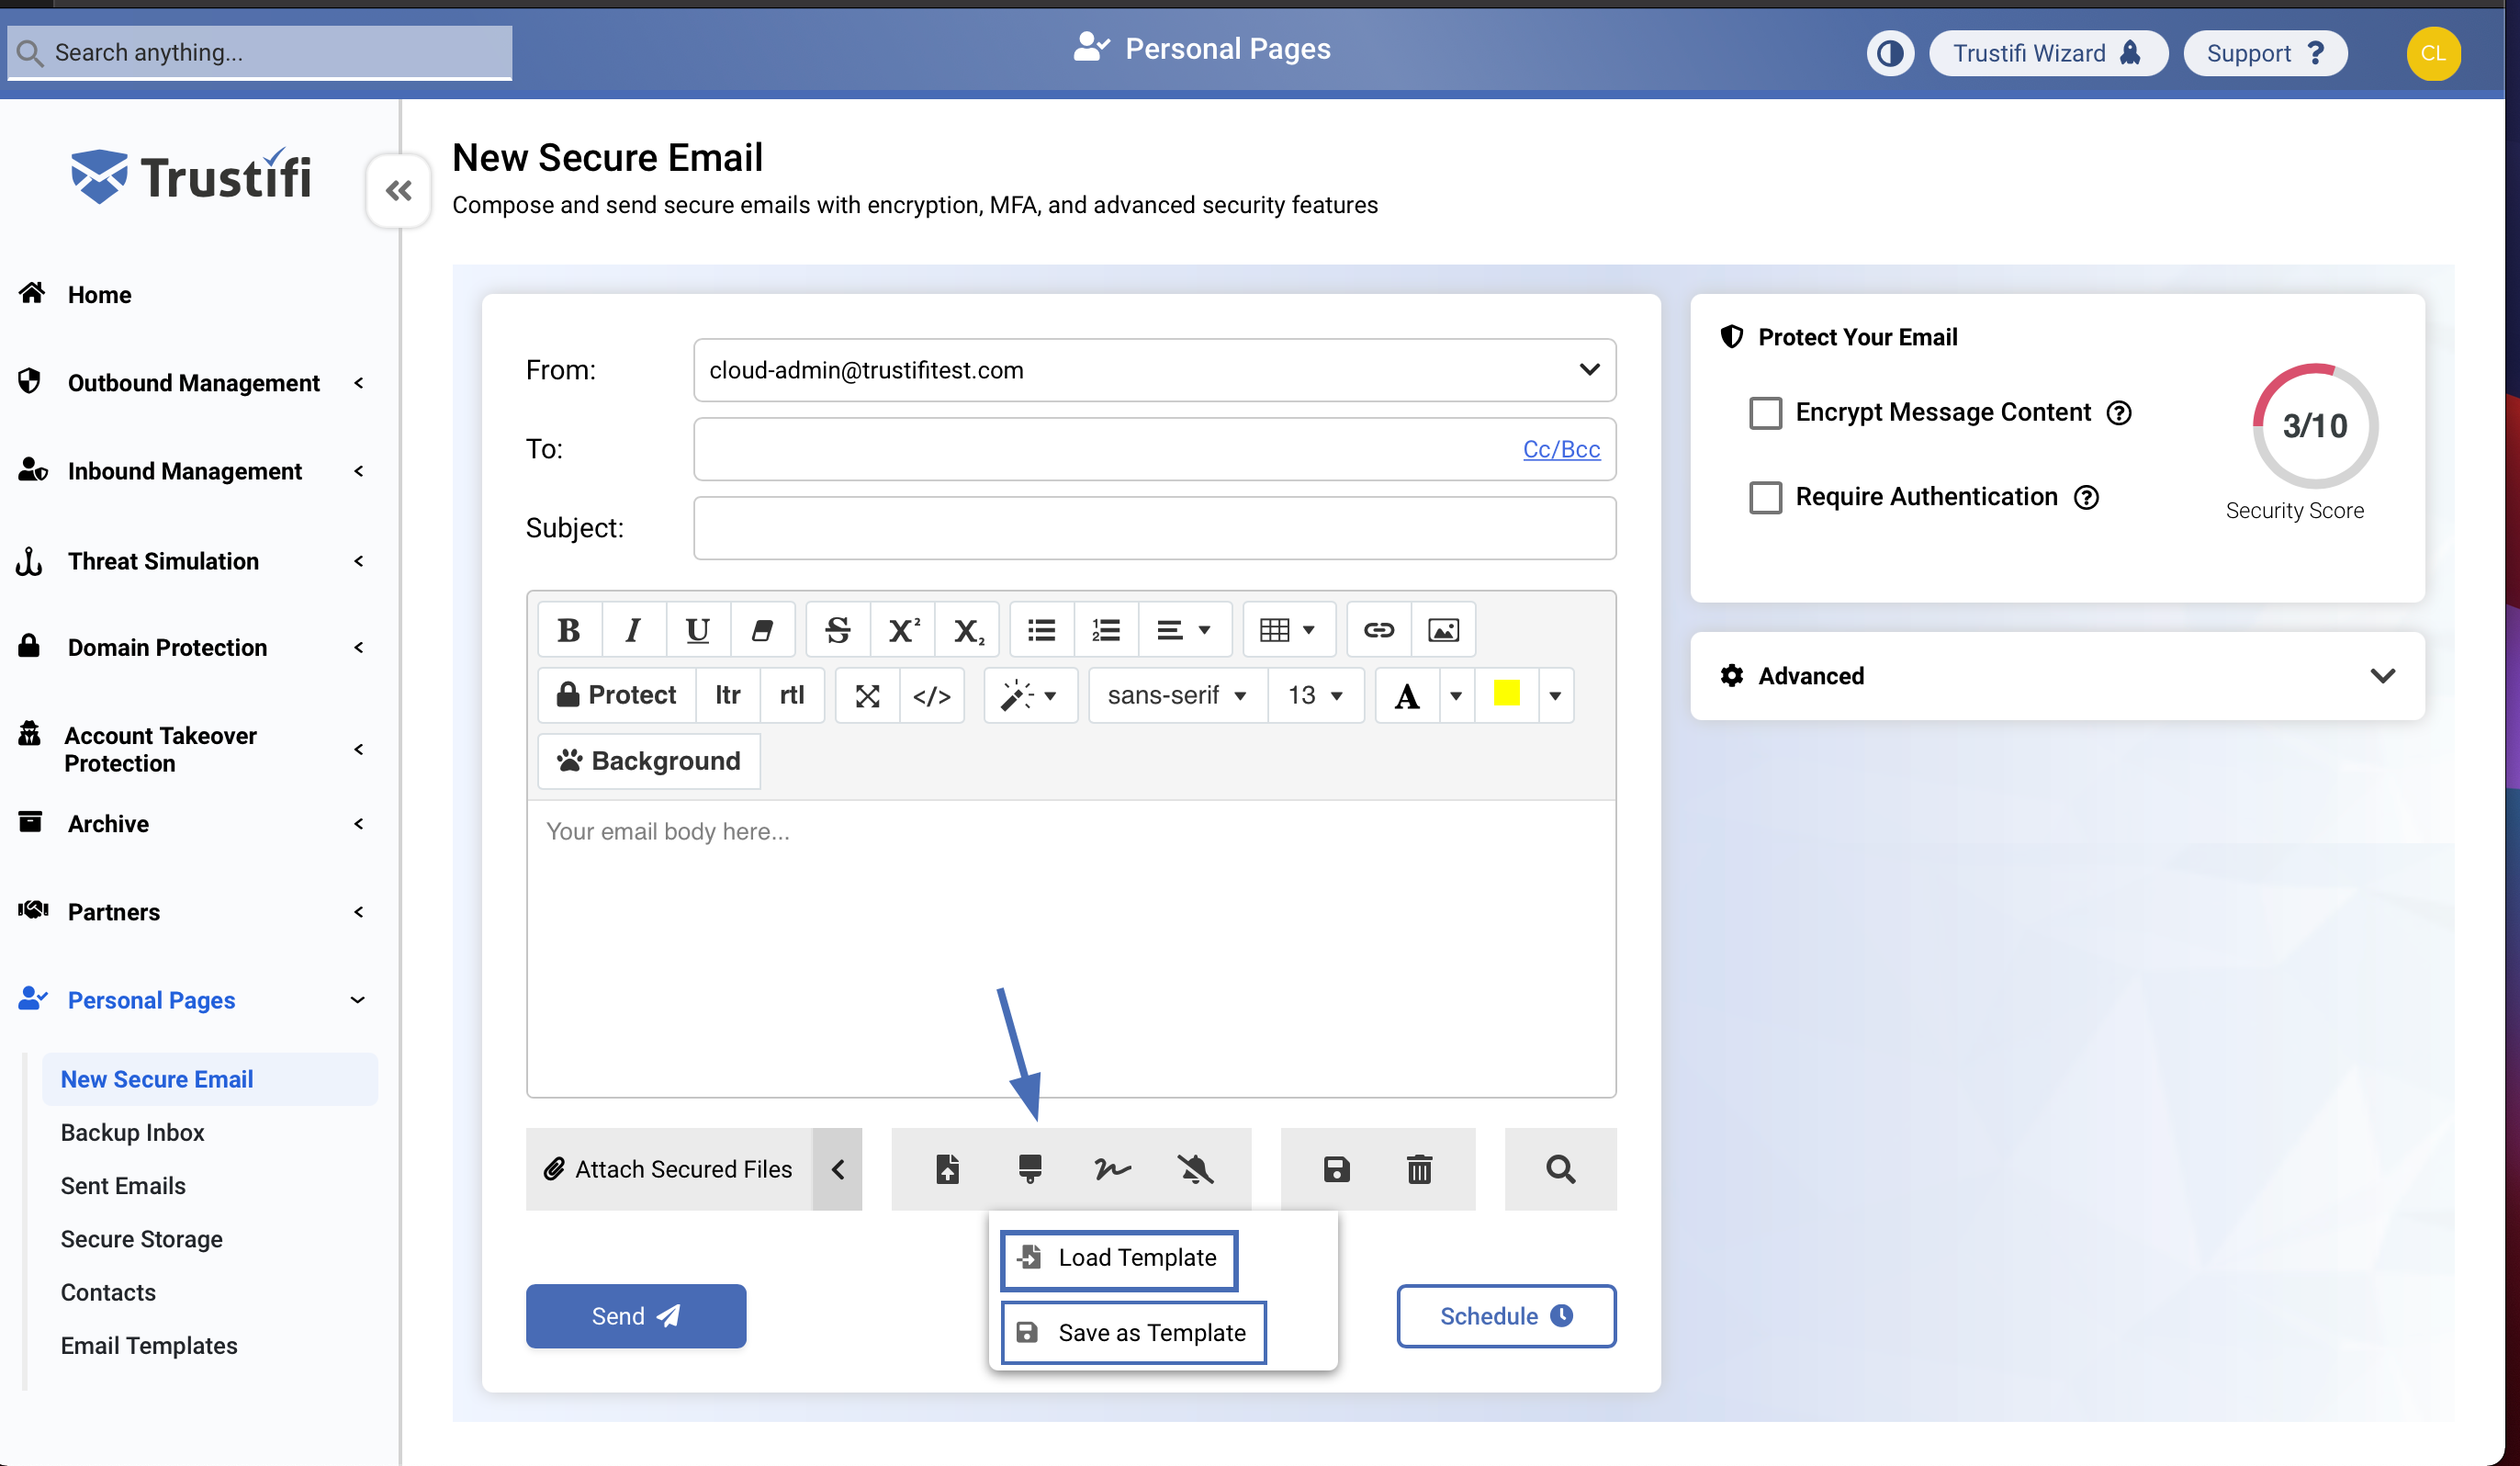
After you click the "Email template" button, a menu will appear with 2 options:
"Load Template" - Select this to insert an existing template into your email
"Save as Template" - Select this to save your current email content as a new template
Select the “Load Template” option
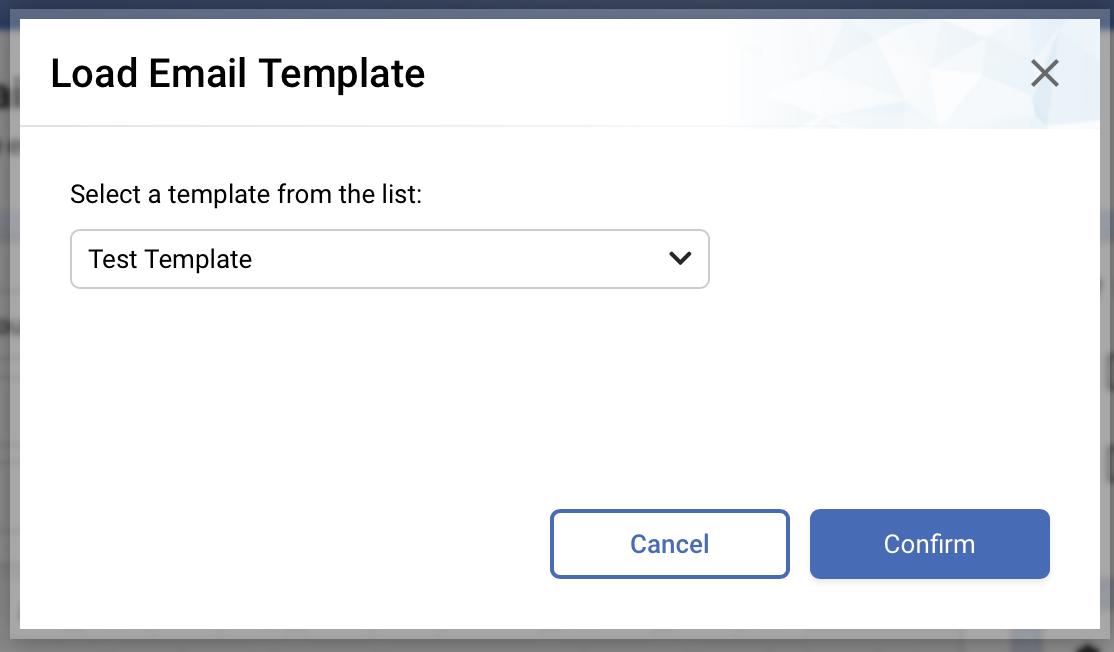
After you have clicked on the “Load Template” button, a pop-up window will appear where you can select which template you want to use.
Once a template is selected, simply click on “Confirm” and the template will be loaded into the text editor.
Using the API
Using the API to send an email with a template is very similar to the process of sending a “regular” email – all that needs to be added to the API request is the “template” object which includes the template name and any custom dynamic fields (if there are any).
The documentation for sending an API email with a template can be found here – https://api.trustifi.com/#65118bcc-cf29-4b36-bb8a-b86f7232cb5d
See the example below (this example is using Curl, but many other languages are supported):
curl --location --request POST 'https://be.trustifi.com/api/i/v1/email' \
--header 'x-trustifi-key: {{trustifi_key}}' \
--header 'x-trustifi-secret: {{trustifi_secret}}' \
--header 'Content-Type: application/json' \
--data-raw '{
    "template": {
        "name": "my_template",
        "fields": {
            "first_field": "hello",
            "second_field": "world"
        }
    },
    "recipients": [{
        "email": "[email protected]",
        "name": "test",
        "phone": {
            "country_code": "+1",
            "phone_number": "1111111111"
        }
    }],
    "lists": [],
    "contacts": [],
    "methods": {
        "postmark": false,
        "secureSend": false,
        "encryptContent": false,
        "secureReply": false
    }
}'